Create a sub-Account
Enterprise users can not only invite freelancers to join the team, but can also create sub-accounts for existing employees.
How to create
1. Click Team - Members in the left navigation bar to enter the Members interface.

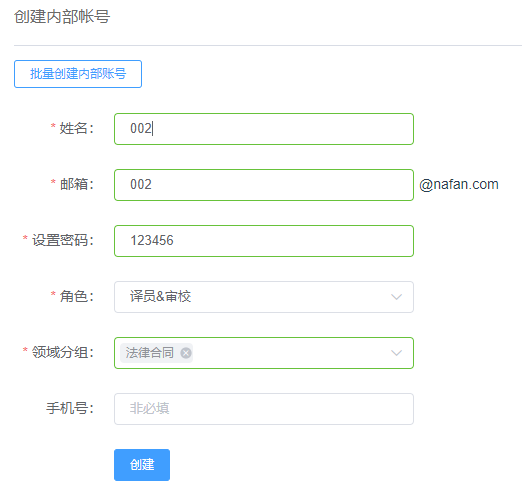
2. Click Create in the upper left corner of the page to enter the Create User interface. Enter relevant information in the text boxes, select Groups (multiple options), and click Create to view the information of the newly created account.
Members of different roles have different extent of authority. Click for Details.
 3. Click Copy to copy the member's information and send it to others.
Import Users
You can import users in the Create Users interface.
Click Import Users, make excel files according to the template file image or download a sample .xlsx file, and then upload or drag the file into the window.

Once all set, a message x member(s) have been created successfully will pop up automatically in the upper right corner of the page. Then you can find the sub-accounts you have just created in the Members interface.

In the Members interface, an enterprise sub-account and an invited freelancer are marked differently: the former is an In-House User and the latter is a Freelancer. The former can be edited or deleted by the enterprise user, while the latter can only be edited or removed but not be deleted.

Notes:
In the Enterprise Edition, the role of freelancers can only be Linguist. Create sub-accounts for other roles.